
How To Prep a New Garden Bed
Before you grab your shovel, it’s worth taking a little time to set your new garden bed up for success. Whether you’re carving out a wild pollinator patch, creating a tidy border for native perennials, or turning a plain patch of lawn into something beautiful and alive, a little prep work now will make all the difference later.
A well-prepared bed helps your plants settle in faster, keeps weeds under control, and builds healthy soil that will keep thriving for years to come.
In this simple step-by-step guide, we’ll walk you through everything from sketching out your garden shape to mulching and watering it in. Grab some cardboard, your favorite compost, and let’s get planting! 🌱
1. Outline Your Desired Bed
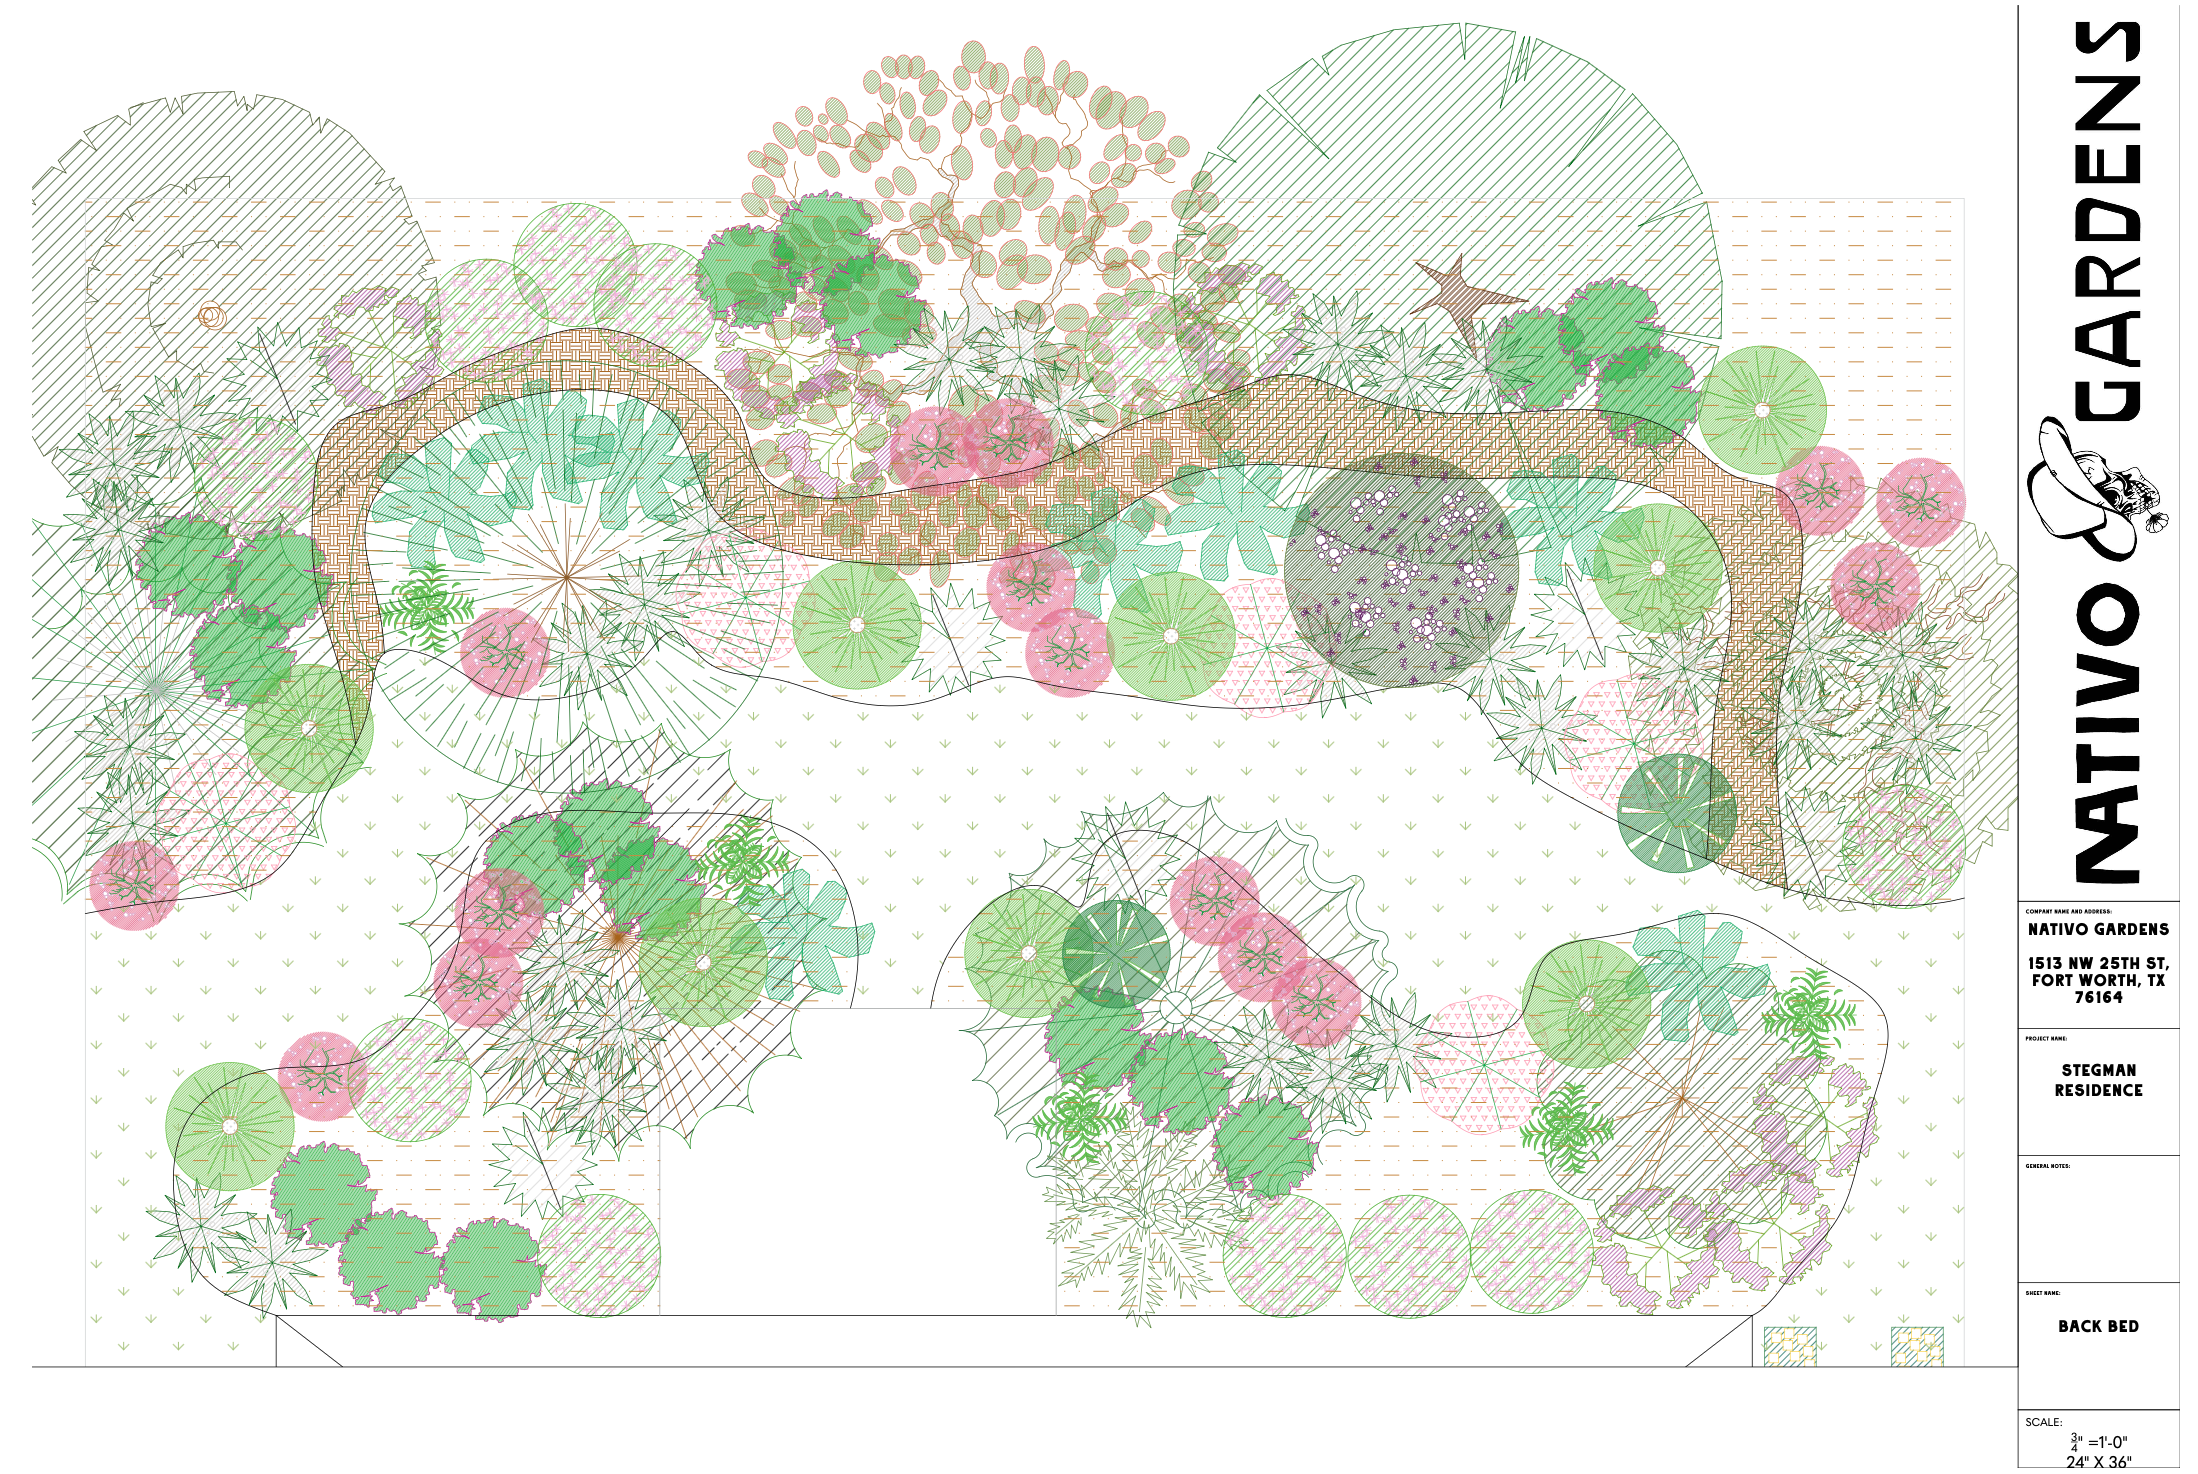
Start by deciding where your new bed will go. You can draw it out on paper first or just freestyle directly on the ground, whatever feels right! Use what you have on hand to mark the shape: string, a garden hose, rocks, or even a few sticks work perfectly. Don’t overthink it! Your garden should feel natural and flow with the space.
2. Trench Your Edges
Next, take a flat shovel or edging tool and work your way around the outline you created. Dig a small trench shaped like a “V,” with the outside edge straight and the inside slanted about 45 degrees toward the garden bed. This little trench will give your border and mulch a clean spot to sit without spilling over.
3. Choose Your Border
Now for the fun part... choosing your edge! You can go tidy with bricks or stones, or keep it natural with small logs, which also make great habitat for insects and fungi. If you want something more permanent, steel edging that hammers into the ground works beautifully. The goal here is to define your space while keeping it true to your style (and your garden’s personality).
4. Clean Up and Remove Plants
Time to clear the space. Remove any unwanted shrubs or weeds and cut existing grass down to the dirt. You’ll basically want to “scalp” the area so the soil is exposed and ready for the next step.
5. Sheet Mulching
This step is so satisfying. Grab some cardboard (avoid anything shiny or with tape) and lay it down across your entire bed, overlapping the pieces so no soil is showing. The cardboard acts as a biodegradable weed barrier and slowly adds organic matter as it breaks down. Skip the plastic weed barriers, THEY SUCK. They’ll just turn into a messy layer of microplastics later on.
6. Cover with Compost or Soil
Once your cardboard is in place, cover it with a thin layer of soil or compost. If you’re planting right away, avoid “hot” composts like fresh manure, they can burn your new plants. Aged compost is best. We love using leaf mold or mushroom compost, but if you make your own, even better!
7. Mulch
Top everything off with 2–3 inches of mulch. Choose something natural (our fave is Native Hardwood Mulch) and avoid dyed or rubber options. If you’ve got access to fallen leaves or pine needles, those work great too. The mulch helps lock in moisture, feed the soil, and keep everything looking clean and finished.
8. Place and Plant Your Plants
If you’re planting now, wet your cardboard a bit, cut holes where your plants will go, and dig just deep enough for the roots. If you’re prepping for next season, you can skip this part. The cardboard will naturally soften and break down over time, making it easy to plant later.
Pro Tip: Fill each hole with water before planting to fully saturate the soil. It helps prevent transplant shock and gives your plants a smooth start!
Once your plants are in, tuck them in with a good layer of mulch around the base to protect their roots.
9. Water Deeply
Give your new garden bed a deep drink! Water daily for the first week or two to help everything settle in. After that, ease up to watering two or three times a week until your plants are established. Deep, less frequent watering helps your plants grow stronger roots and handle heat better in the long run.
10. Enjoy Your Garden!
Now comes the best part, watching it all grow. 🌼
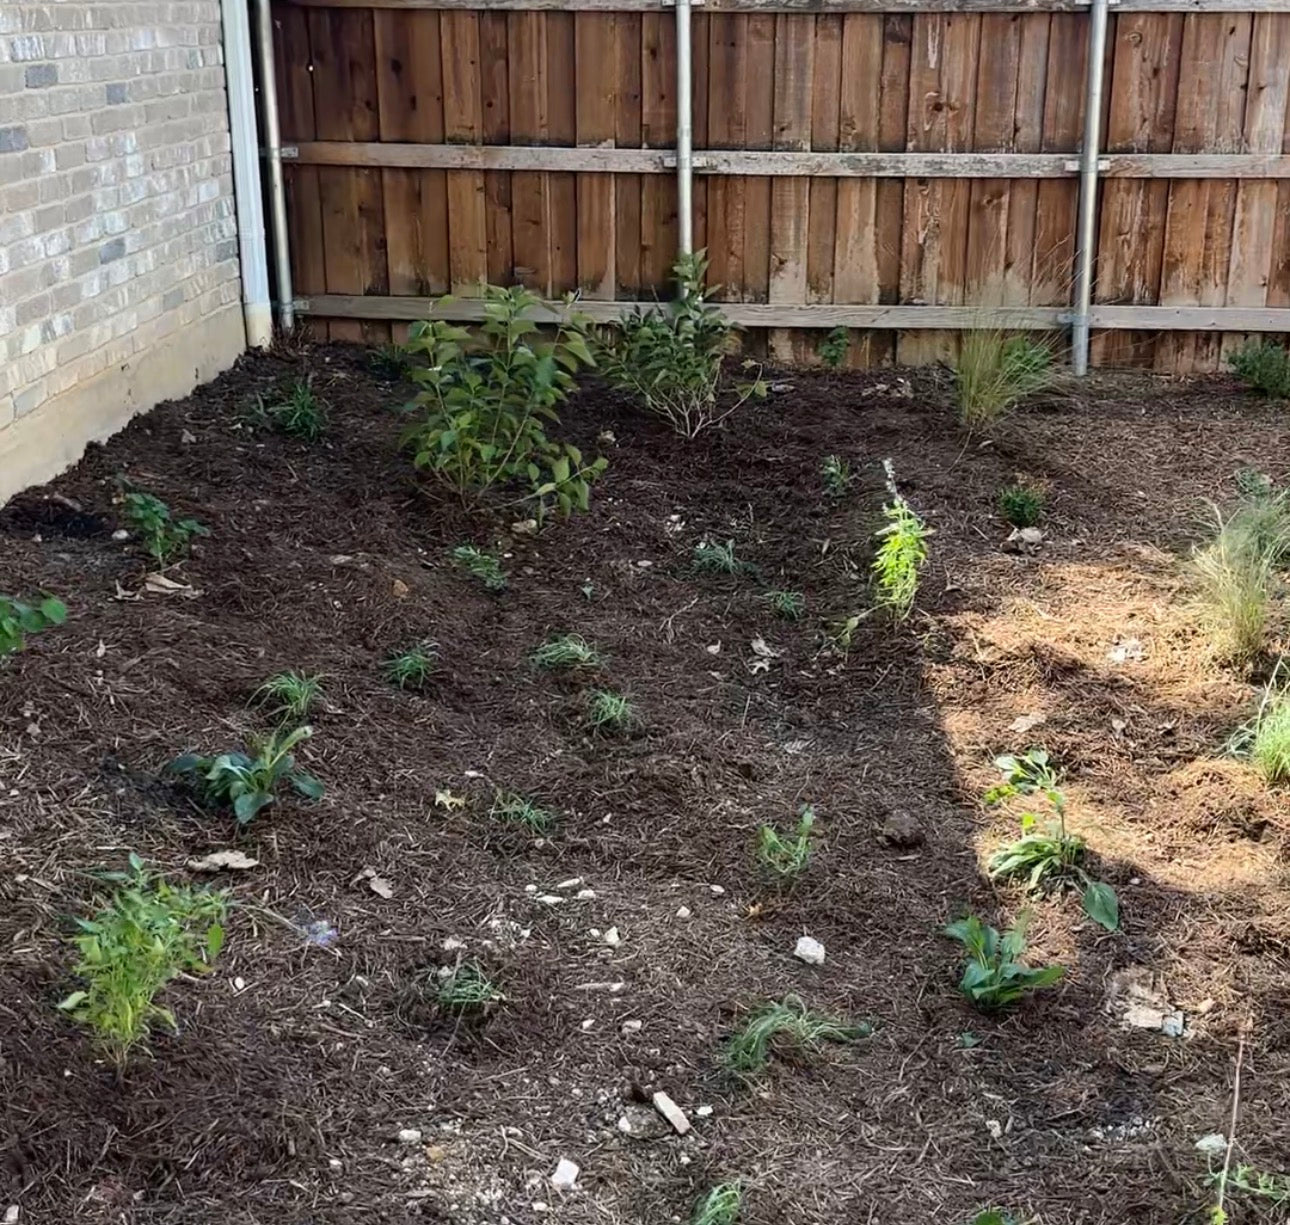
Every garden needs time to settle in, so don’t worry if it looks a little sparse at first. By year three, your plants should reach their mature size and your bed will look full, lush, and teeming with life.
Sit back, grab a drink, and enjoy the bees and butterflies fluttering through the habitat you created. You did it!


Comments