
How to Build a Micropond at Home
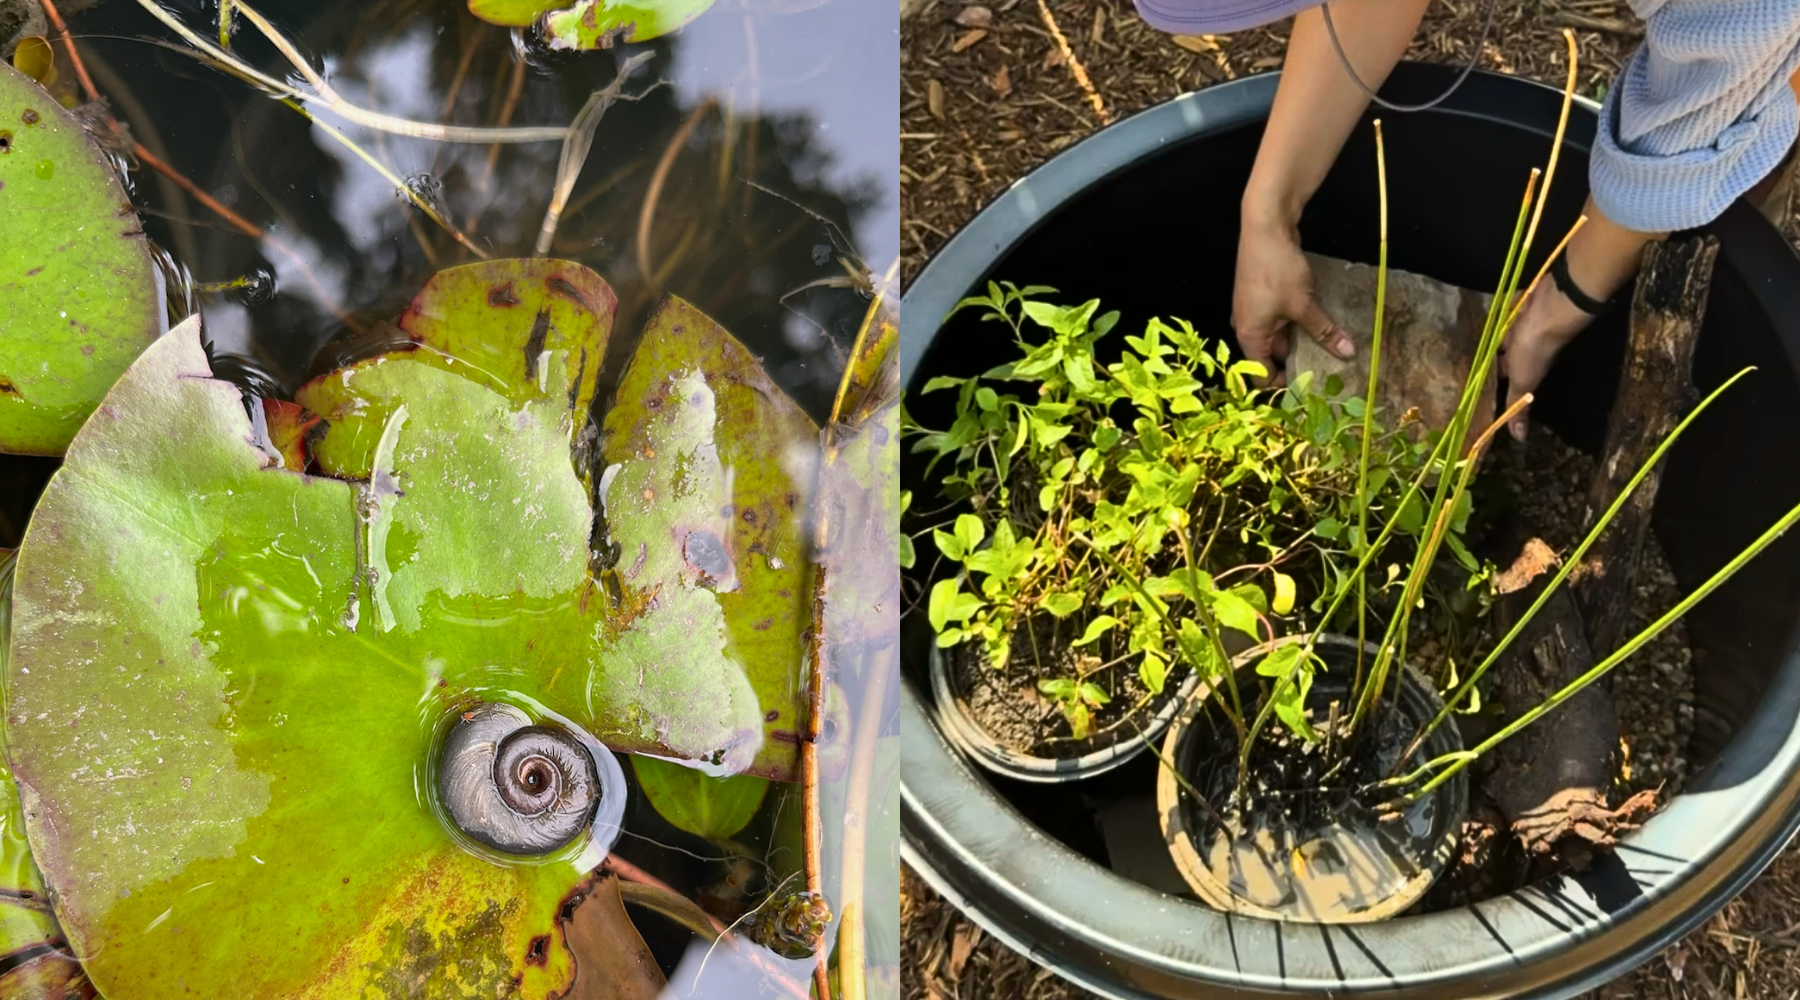
This summer, we hosted three Micropond Workshops at Nativo, and every single one sold out. We loved getting to build alongside so many of you, but we also know not everyone could make it to Fort Worth to join us in person.
So, we’re bringing the workshop to you.
Whether you missed one of our workshops or you’re discovering Nativo from somewhere far beyond Fort Worth, this guide walks you through the basics of building your own micropond at home. With a watertight container, a few aquatic plants, and some simple materials, you can create your own little water garden just about anywhere.
Use our workshops as inspiration, make it your own, and don’t be afraid to get creative with the plants, materials, and container you choose.
What You’ll Need
Before you get started, gather your materials:
- A watertight container
- 3–4 aquatic plants
- Pea gravel, rinsed clean
- Large rocks and/or pieces of flagstone
- Sticks or natural wood
- Beneficial pond bacteria
- Water
Choosing the Right Container
You can build a micropond in all kinds of containers, so don’t be afraid to get creative. The most important thing is choosing something that is deep enough for your plants and completely watertight.
Size: We recommend a container at least 12–18 inches deep. A 15–20 gallon container is ideal.
Material: Glazed ceramic, plastic, metal, or another waterproof material can work.
Drainage: Your container should not have drainage holes. It needs to be completely watertight.
Shape: Round and oval containers tend to work especially well, but almost any shape can become a micropond.
For a 15–20 gallon container, we recommend starting with approximately 3–4 aquatic plants. Choosing plants with different growing habits and heights will help create a more layered, natural-looking pond.
How to Build Your Micropond
1. Start With Your Aquatic Plants
The exact setup of your micropond will depend on the plants you choose. Different aquatic plants prefer different depths, so take a look at the needs of each plant before deciding where it will go.
If you’re using a water lily or another plant that belongs toward the bottom of your pond, start there. Depending on the plant, this may mean keeping it in an aquatic planting container or positioning its roots and growing medium toward the bottom of your micropond.
Don’t worry about making everything look perfect yet. You’ll have plenty of opportunities to adjust your plants as you build.
2. Add Pea Gravel
Add clean, rinsed pea gravel to the bottom of your container and around any plants positioned there.
If you’ve planted directly into aquatic soil or mud, make sure the growing medium and roots are completely covered with gravel. This helps hold everything in place once you begin adding water.
3. Build Your Structure
Now for the fun part. Arrange larger rocks, pieces of flagstone, and sticks throughout your container.
Beyond adding a natural look to your micropond, these materials serve an important purpose. Creating different heights throughout the pond allows you to position each plant at the water depth it prefers.
Think of this step as creating a tiny underwater landscape. Stack and arrange your materials until you have a few different planting levels to work with.
4. Add the Rest of Your Plants
Position your remaining aquatic plants throughout the pond based on their individual water-depth requirements.
Marginal plants generally prefer their roots and lower portions submerged while their foliage remains above the waterline. Use your rocks and flagstone to raise or lower each plant until it sits at the appropriate depth.
For a 15–20 gallon micropond, 3–4 aquatic plants is a great starting point. Give them some room to grow rather than trying to fill every open space immediately.
5. Slowly Add Water
Once you’re happy with your arrangement, slowly fill your container with water.
Pour carefully so you don’t disturb the gravel, growing medium, or plant placement. You may need to make a few adjustments as the water level rises, and that’s completely normal.
6. Add Beneficial Bacteria
Once your micropond is filled, add the recommended amount of beneficial pond bacteria according to the product instructions.
Beneficial bacteria play an important role in pond health. They help break down organic waste and excess nutrients in the water, supporting a healthier and more balanced aquatic ecosystem as your micropond becomes established.
7. Let Your Micropond Settle
Now, let nature do its thing.
Your water may look a little cloudy at first from the gravel, planting materials, or other organic matter. Give your new pond some time to establish itself. Within a week or two, the water should begin to settle and become clearer as your micropond develops its own little ecosystem.
Caring for Your Micropond
Once your micropond is established, ongoing care is relatively simple.
Keep an eye on the water level, especially during hot weather. Water will naturally evaporate, so top off your pond as needed to maintain the appropriate water level for your plants.
You’ll also want to keep an eye on your plants as they grow throughout the season. Trim or divide them when necessary and remove excessive dead plant material from the water.
Continue using beneficial bacteria according to the product recommendations to help support the overall health of your pond.
Make It Your Own
There’s no one “right” way to build a micropond. Your choice of container, plants, rocks, wood, and layout can completely change the finished design.
Need a little inspiration before you start? Browse our Micropond Pinterest Board for ideas. Go minimal, lush and natural, or somewhere in between. The fun is creating something that works for your space.
Ready to Build Your Own Micropond?
Now that you know the basics, it’s time to build your own.
Shop our aquatic plant collection to find plants for your micropond. And there’s no better weekend to get started: all aquatic plants are 50% off (in-store only) from Thursday, August 13 through Sunday, August 16.
Pick your inspiration, stop by Nativo to choose your plants, and start building your own little piece of pond life at home.


Comments